

Welcome to the Ryobi Drill User Manual․ This guide provides essential information for safe and effective operation, including assembly, maintenance, and troubleshooting tips for optimal performance․
1․1 Importance of Reading the Manual
Reading the Ryobi Drill User Manual is crucial for safe and effective operation․ It provides detailed safety guidelines, proper usage techniques, and maintenance tips to ensure optimal performance․ Understanding the drill’s features, such as the keyless chuck and adjustable speed settings, is essential for achieving professional results․ Additionally, the manual offers troubleshooting solutions to address common issues, helping you avoid costly repairs․ By following the manual’s instructions, you can prevent accidents, extend the tool’s lifespan, and ensure compliance with warranty conditions․ Always refer to the manual before assembling or operating the drill․
1․2 Model Identification and Compatibility
Identifying your Ryobi drill model is vital for ensuring compatibility with accessories and batteries․ Locate the model number on the tool’s label or in the manual․ This number helps in selecting the correct battery type and drill bits․ Compatibility varies between models, so verify specifications to avoid improper use․ Referencing the manual ensures you use recommended parts, optimizing performance and safety․ Correct model identification also aids in warranty claims and customer support inquiries, ensuring smooth troubleshooting and maintenance processes․ Always check compatibility before purchasing additional components for your drill․
Safety Guidelines for Operating the Ryobi Drill
Always follow safety guidelines to ensure safe operation․ Read the manual thoroughly, wear protective gear, and keep the work area clean and well-lit to prevent accidents․
2․1 General Safety Precautions
Always wear safety goggles and gloves when operating the drill․ Avoid loose clothing or jewelry that could get caught․ Ensure the work area is clean, dry, and well-lit․ Never operate the drill in explosive environments or near flammable materials․ Keep children and pets away․ Follow all safety guidelines outlined in the manual to minimize risks․ Properly handle the tool to avoid accidental start-ups․ Regularly inspect the drill for damage before use․ Ensure the workpiece is securely held to prevent slipping․ Always disconnect the battery when not in use or during maintenance․
2․2 Personal Protective Equipment (PPE)
Always wear safety goggles to protect your eyes from debris․ Use gloves to improve grip and prevent hand injury․ A dust mask is recommended when drilling through materials that generate dust․ Ensure long hair is tied back and avoid loose jewelry that could get caught․ Proper PPE minimizes risks and ensures safe operation․ Refer to the manual for specific recommendations based on your drilling tasks and materials․ Safety should never be compromised for convenience․
2․3 Work Area Safety Tips
Ensure your work area is clean and well-lit to avoid accidents․ Keep flammable materials away and never drill in explosive atmospheres․ Secure the workpiece firmly to prevent movement․ Avoid overreaching and maintain good footing․ Keep children and pets away․ Regularly inspect the drill and surroundings for hazards․ A tidy workspace reduces risks and enhances efficiency․ Always follow these guidelines to create a safe drilling environment․
Key Features of the Ryobi Drill
The Ryobi Drill offers a cordless design, keyless chuck, and adjustable speed settings, ensuring efficiency and ease of use for various drilling and driving tasks․
3․1 Cordless Design and Battery Information
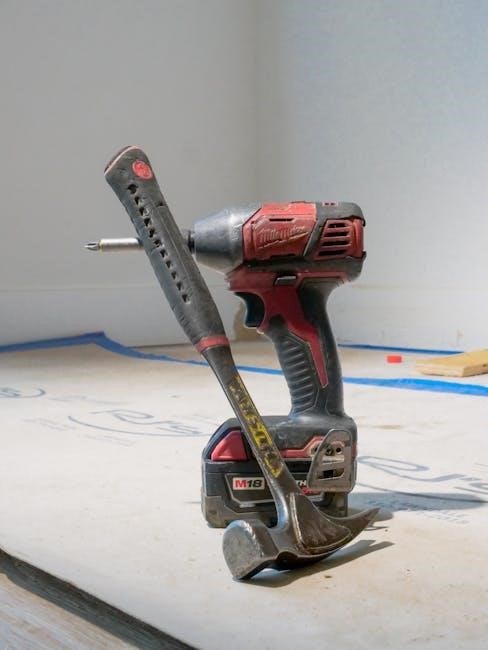
The Ryobi Drill features a convenient cordless design, offering enhanced portability and ease of use․ It is powered by a high-capacity lithium-ion battery, ensuring long runtime and reliable performance․ The battery is compatible with Ryobi’s 18V or 20V ONE+ platform, allowing seamless integration with other Ryobi tools․ Charging is quick and efficient, with most batteries reaching full capacity in about 30 minutes․ Proper battery care, such as storing in a cool, dry place, is essential for maintaining longevity and performance․ Always use genuine Ryobi batteries for optimal results․
3․2 Keyless Chuck and Bit Installation
The Ryobi Drill features a keyless chuck, allowing for quick and easy bit changes without the need for additional tools․ To install a bit, insert it into the chuck until it stops, then rotate the chuck clockwise to secure․ Ensure the bit is properly seated and aligned for optimal performance․ The keyless design provides convenience and efficiency, enabling rapid adjustments during tasks․ Always use compatible bits and ensure they are tightly fitted to avoid slippage or damage․ Proper installation ensures safety and precision in drilling and driving operations․
3․3 Adjustable Speed Settings
The Ryobi Drill offers adjustable speed settings, providing versatility for various tasks․ A two-speed gearbox allows for high torque at lower speeds and precise control at higher speeds․ Users can select the appropriate speed based on the material and bit type, ensuring efficient drilling and driving․ The variable speed trigger enables smooth acceleration, while indicators help maintain optimal RPM for different applications․ This feature enhances productivity and reduces the risk of damaging materials or the tool itself․ Proper speed selection is key to achieving professional results in any project․

Assembly and Maintenance
Proper assembly and regular maintenance ensure optimal performance and longevity of your Ryobi Drill․ Follow the manual’s guidelines for unpacking, initial setup, and routine care to maintain efficiency and safety․
4․1 Unpacking and Initial Setup
Begin by carefully unpacking your Ryobi Drill and verifying all components are included․ Inspect for damage and ensure all parts are present․ Follow the manual’s instructions to install the battery and keyless chuck․ Insert the bit by aligning it with the chuck and turning clockwise until secure․ Charge the battery fully before first use․ Familiarize yourself with the tool’s features and controls․ Always refer to the manual for specific setup instructions to ensure proper function and safety during operation․
4․2 Proper Tool Maintenance and Storage
Regular maintenance ensures your Ryobi Drill performs optimally and lasts longer․ Clean the drill and battery regularly, avoiding harsh chemicals․ Store the tool in a dry, cool place, away from direct sunlight․ Keep the battery separate from the drill when not in use to prevent drain․ Use a protective case or bag to prevent damage․ Always check for wear and tear on bits and chuck․ Follow the manual’s guidelines for proper storage and maintenance to preserve functionality and safety․
Operating the Ryobi Drill
Learn how to operate your Ryobi Drill safely and effectively․ This section covers essential steps for charging, selecting drill bits, and performing basic drilling and driving tasks․
5․1 Charging the Battery
Proper charging is essential for maintaining your Ryobi Drill’s battery life․ Use the original charger provided to ensure compatibility and safety․ Plug the charger into a power outlet and insert the battery pack, aligning the terminals correctly․ Avoid overcharging, as this can reduce battery longevity․ The charger will indicate when the battery is fully charged, usually through an LED light․ Store the battery in a cool, dry place when not in use to prevent degradation․ Always follow the manufacturer’s guidelines for charging to ensure optimal performance and safety․
5․2 Selecting the Right Drill Bit
Selecting the right drill bit is crucial for optimal performance․ Choose bits based on the material you’re working with—wood, metal, plastic, or masonry․ Spade bits are ideal for woodworking, while twist bits work best for metal․ For precise holes in wood, use a forstner bit, and for masonry, opt for a carbide-tipped bit․ Always ensure the bit size matches your screw or bolt to avoid stripping․ Check your drill’s specifications for compatible chuck sizes and bit types․ Using the correct bit enhances accuracy, safety, and tool longevity, ensuring professional-grade results․
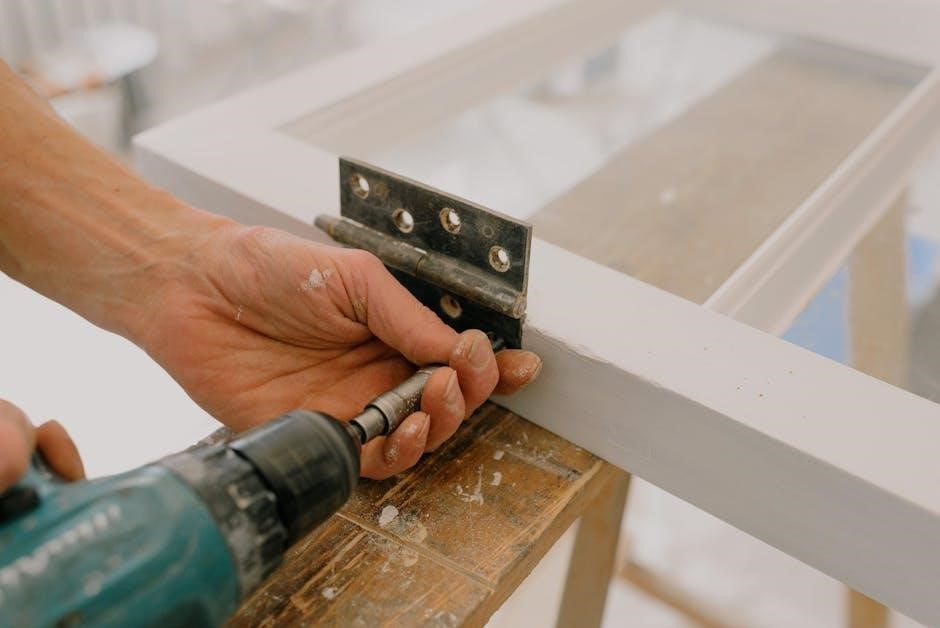
5․3 Basic Drilling and Driving Operations
Begin by ensuring the drill is fully charged and the correct bit is installed․ Start with a low speed setting for precise control, gradually increasing as needed․ Maintain firm, consistent pressure to keep the bit steady and avoid slipping․ For drilling, use a pilot hole to guide larger bits and reduce material splintering․ When driving screws, align the bit with the screw head and apply gentle, steady pressure․ Ensure the workpiece is secure to prevent movement during operation․ Keep the drill bits clean and sharp for optimal performance and to extend their lifespan․
Troubleshooting Common Issues
Identify issues like battery charging problems, bit slippage, or motor performance․ Refer to the manual for solutions, such as resetting the drill or cleaning the chuck․
6․1 Battery and Charging Problems
If the battery fails to charge, ensure the charger is functioning and properly connected․ Check for dirt or damage to the battery contacts․ A faulty charger or dead battery cells may require replacement; If the battery doesn’t hold charge, it may need to be replaced․ Clean the contacts regularly to maintain proper charging․ Store batteries in a cool, dry place to prolong life․ Avoid extreme temperatures and overcharging, as this can degrade battery health․ Refer to the manual for specific troubleshooting steps and manufacturer recommendations․
6․2 Motor or Performance Issues
If the drill exhibits low power, unusual noise, or vibration, check for worn or damaged brushes․ Ensure proper battery charge and connection․ Overheating can occur during prolonged use; allow the motor to cool․ Clean the motor vent to prevent dust buildup․ If performance issues persist, inspect for loose internal parts or debris․ Refer to the manual for brush replacement instructions, as worn brushes may reduce efficiency․ For severe motor damage, contact Ryobi customer support for professional assistance or potential repairs under warranty․
6․3 Chuck and Bit Malfunction
If the chuck fails to hold the bit securely, ensure the bit is properly aligned and seated․ Tighten the chuck by hand or with the provided wrench until it locks firmly․ If the chuck slips during operation, check for dust or debris and clean it thoroughly․ Lubricate the chuck if it feels stiff․ For persistent issues, refer to the manual for instructions on adjusting or replacing the chuck․ Regular maintenance can prevent such malfunctions and ensure consistent performance․
Warranty and Customer Support
Ryobi offers a comprehensive warranty program and dedicated customer support․ For inquiries, contact Ryobi customer service or visit their official website for detailed assistance and resources․
7․1 Understanding the Warranty Policy
Ryobi’s warranty policy ensures your drill is protected against defects in materials and workmanship․ Most drills come with a limited warranty period, typically covering parts and labor for a specified duration․ Registration may be required to activate the warranty․ Exclusions include damage from misuse, normal wear, or unauthorized repairs․ For detailed terms, refer to the manual or visit the Ryobi website․ Understanding the policy helps maximize protection and ensures your tool remains reliable over time․
7․2 Contacting Ryobi Customer Service
For assistance with your Ryobi drill, contact customer service via phone, email, or through the official website․ Visit the Ryobi support page to find contact details and submit inquiries․ Ensure you have your model number and purchase details ready for efficient support․ Live chat is also available during business hours for quick solutions․ Additionally, Ryobi provides FAQs and downloadable manuals on their website to address common questions․ Representatives are trained to help with warranty claims, troubleshooting, and repair services, ensuring your concerns are resolved promptly and effectively․
Environmental and Disposal Information
Properly dispose of batteries and drill components to protect the environment․ Recycle batteries and metal parts at designated centers․ Follow local regulations for eco-friendly disposal practices․
8․1 Proper Battery Disposal
Properly dispose of Ryobi drill batteries to protect the environment․ Fully discharge the battery before disposal․ Do not crush or puncture batteries, as this can release hazardous materials․ Use protective covering on terminals to prevent short circuits․ Take batteries to a certified recycling center or participating retailer that accepts rechargeable batteries․ Check local regulations for specific guidelines․ Avoid disposing of batteries in regular trash, as they require special handling․ Ensure environmentally responsible disposal to prevent contamination and promote sustainability․
8․2 Recycling Options for Drill Components
Recycle your Ryobi drill components responsibly by visiting certified recycling centers or participating retailers that accept power tool parts․ Many communities offer collection events for electronic waste․ Ensure components are disassembled and materials separated for proper processing; Check local regulations for specific guidelines on recycling drills and batteries․ Some retailers partner with recycling programs to simplify the process․ Additionally, consider donating functional tools to community organizations or repair shops․ Proper recycling helps conserve resources and reduces environmental impact․ Always verify the recycling center’s acceptance criteria before dropping off items․